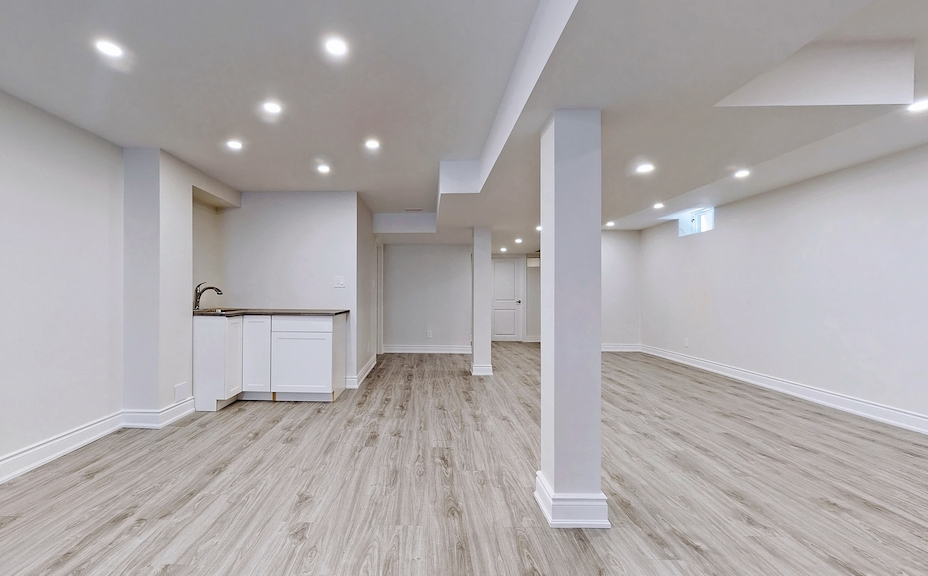
Installing laminate floors on concrete may seem difficult at first. But with the right tools, planning, and patience, it’s a manageable project. Many homeowners choose it because it’s a budget-friendly option that delivers amazing results.
Before you start, remember that concrete can trap moisture, crack, or stay uneven. Good subfloor preparation is the secret to smooth results. Skipping steps will only cause gaps, squeaks, or swelling.
Therefore, if you’d prefer expert results, consider professional laminate flooring installation services for extra peace of mind.
Installation Process for Laminate Flooring
Installing laminate plank flooring on concrete is not complicated. But every stage matters and affects the final look and comfort.
Step 1: Get the Concrete Floor Ready
Good concrete preparation ensures a stable foundation. Clean the concrete subfloor of dust, grease, and old adhesive. Use a vacuum, scraper, or stiff broom for deep cleaning.
If you find cracks, patch them before moving on. Floor leveling compound fills dips, leaving a smooth, even surface. Uneven concrete creates troublesome joints later. Proper subfloor preparation saves time during flooring installation.
Step 2: Check for Moisture
Concrete holds water, and moisture damages laminate flooring installation. Do a simple moisture test before laying planks.
- Use the plastic sheet test: Tape clear plastic over concrete. After 24 hours, check for condensation.
- Or try concrete moisture testing with a moisture meter.
If the moisture level is high, you need thicker insulation for proper mold prevention. This step prevents swollen boards and a twist in the floor later.
Step 3: Put Down a Moisture Barrier
Lay a vapor barrier before laminate installation. Plastic sheeting or roll-on products stop dampness from reaching planks.
- Overlap seams by at least 4 inches.
- Keep everything flat for clean underlayment installation.
Basement flooring and playroom flooring need stronger moisture protection. A barrier protects against damp concrete and stabilizes your floating floor installation.
Step 4: Install Underlayment (If Needed)
Some planks come with attached padding. If not, roll out underlayment for soundproofing and comfort.
Options include Roberts AirGuard 5-in-1, foam, cork, or felt underlayment types. Roll it flat across the room, trim edges with a utility knife, and tape joints. Good underlayment installation makes a big difference. It improves aspects like noise control and provides a softer walking surface.
Step 5: Let the Flooring Adjust to the Room
Laminate planks need time to adjust to room temperature and humidity before DIY laminate installation. The ideal range is 65–75°F for temperature and 35–55% for humidity. This step prevents swelling or shrinkage after the planks are clicked in.
Keep unopened boxes flat in the room for at least 48 hours. This adjustment period becomes even more important in basement renovation projects, as basements often have different temperature and humidity levels.
Step 6: Plan Your Layout
Never skip room layout planning. Place planks on the floor to see how seams, corners, and staggered joints will look.
Use a chalk line for guidelines. Always maintain an expansion gap of 1/4 inch spacers along walls for movement. This prevents problems with heat or humidity later.
Step 7: Start Installing the Laminate
Begin laying the first row along the longest wall. Place the starting plank with the tongue and groove facing the wall and add spacers.
A clean first row installation sets the tone. Always follow the manufacturer’s recommendation for click-lock groove or click-lock joint systems.
Step 8: Keep Going Row by Row
Use the click system flooring method to lock each piece together tightly.
- Tap gently with a tapping block or rubber mallet.
- Use a pull bar for pieces near walls.
- Never force too hard if it’s hard to click-lock. Adjust instead.
By leaving expansion joints, you avoid future bulges or gaps.
Step 9: Cut Around Obstacles
Rooms often require corner cuts, angled cuts around door trim, or door frame cuts. Use the right saw for each:
| Cutting Task | Tool Suggestion |
| Small cuts, curves | Jigsaw with an ultra-fine jigsaw blade |
| Long straight rip cuts | Table saw or circular saw |
| Detailed finishes | Ultra-fine finish wood blade |
| Quick work on planks | Laminate floor cutter |
Always measure before you cut the laminate to fit. Cut the door jamb with a utility knife or oscillating tool for door frames.
Step 10: Finish the Last Row
Measure carefully before you rip the last row of planks. Use rip cuts to trim narrow strips and avoid gaps.
Use a pull bar for a tight fit with no gaps. Leave an expansion gap again using spacers.
Step 11: Add the Finishing Touches
After the last planks are set, start the trim installation. To cover gaps, install baseboard, quarter-round molding, or transition strips.
Do a cleanup process next. Sweep, mop lightly, and check every seam for troublesome joints. A full final inspection makes sure you did a quality installation.
You can install thresholds at doors and paint trims with modern shades like Agreeable Gray for extra beauty. This complements engineered wood floors or vinyl plank flooring nearby.
Final Thoughts
Installing laminate plank flooring over a concrete slab takes planning, patience, and care. With the right installation tools, a 250 sq. ft home renovation room can take nearly four hours to finish.
Always check moisture, use a vapor barrier, and follow proper installation techniques. That’s the best way to avoid a lesson learned from rushed work.
Choose professional laminate flooring installation services if you want faster results without stress. A skilled laminate flooring contractor delivers a perfect floor with guaranteed laminate durability.


