
Whether you’re planning a home renovation, clearing out your garage, or managing construction debris, knowing how to order a dumpster properly can save you time, money, and unnecessary stress. At Junk Rescue AZ, we’ve helped countless homeowners and contractors manage waste efficiently, and we’ve learned that the best results start with a well-informed customer. From choosing the right size to understanding pricing, permits, and placement, here’s everything you need to know before booking your container.
Step 1: Understand Your Waste and Scope
Before making a call or submitting a quote request, think about what you’ll be loading. Are you tossing out household junk, yard debris, or remodeling waste like drywall and cabinets? Identifying your material type helps you choose the right bin size and weight allowance.
Here’s a quick comparison to visualize volume:
- A standard pickup bed holds about 2–3 cubic yards of debris.
- A small bathroom remodel typically fills a 10-yard container.
- A full kitchen or multi-room cleanout often fits best in a 20-yard dumpster.
- For large-scale renovations, roofing, or construction jobs, 30–40 yards is ideal.
Having a rough estimate helps you avoid paying for more space than you need, or worse, needing a second haul because the first bin filled too fast.
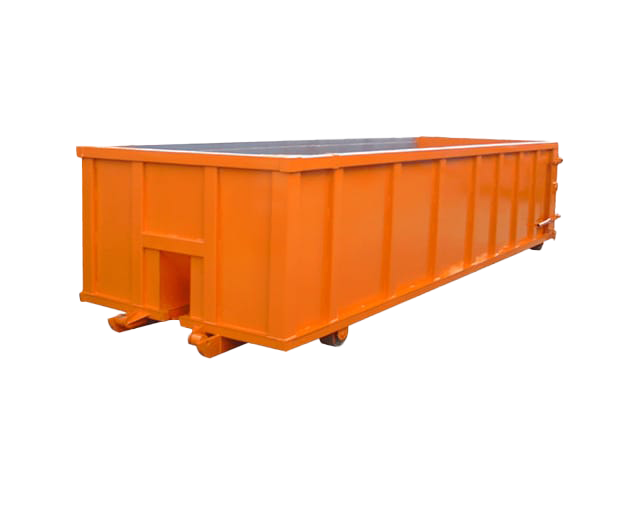
Step 2: Choose the Right Size
Selecting the right container size can make all the difference between a smooth cleanup and multiple pickups.
10-yard dumpster: Perfect for small cleanouts, light yard debris, or single-room remodels.
15-yard dumpster: Great for moderate projects or when you need a bit more room without taking up too much driveway space.
20-yard dumpster: The most popular option, excellent for kitchen remodels, flooring replacements, or multi-room decluttering.
30-yard dumpster: Ideal for major renovations and bulky items like furniture and cabinetry.
40-yard dumpster: Best for commercial projects, large demolitions, or construction site debris.
If you’re unsure, it’s often smarter to go one size larger. A little extra space is usually cheaper than ordering an additional pickup later.
Step 3: Understand the Pricing Structure
Dumpster rental pricing can vary based on several key factors, and knowing what’s included helps you compare providers accurately.
Here’s what typically affects the total cost:
- Container size: Larger bins naturally cost more but may reduce the need for extra hauls.
- Weight limits: Rentals include a base tonnage; exceeding it adds per-ton overage fees.
- Type of debris: Clean loads (like concrete or yard waste) often qualify for lower disposal rates.
- Rental duration: Most rentals cover 7–10 days, with extensions available for a small daily rate.
- Delivery distance: Longer travel or hard-to-access locations can add to costs.
- Local fees: Landfill charges, environmental surcharges, and city permit costs may apply.
When you request a quote, ask for transparency, base rate, tonnage allowance, overage fees, and included rental days, so you’re comparing apples to apples.
Step 4: Plan for Placement and Access
Where your dumpster goes matters more than most people realize. A bad placement can block access, damage pavement, or even violate local codes.
Follow these placement tips:
- Choose a flat, stable surface like concrete or asphalt.
- Avoid areas under power lines or tree branches.
- Leave 60–80 feet of straight clearance for the delivery truck.
- Protect driveways by asking for wood boards under the wheels.
- Keep the container at least 10–15 feet away from doors, fences, or landscaping.
If the dumpster needs to go on the street, most cities require a temporary permit and reflective safety markers. Your hauler can often guide you through this process.
Step 5: Know What You Can (and Can’t) Load
Every dumpster company has a list of prohibited items to protect their equipment and comply with landfill regulations. In general, the following materials are allowed:
- Drywall, wood, flooring, and general construction debris
- Furniture and household junk
- Yard waste, brush, and storm debris
- Roofing shingles and underlayment
- Concrete, dirt, or rock (in smaller, clean-load bins)
Avoid loading items such as:
- Paint, solvents, and chemicals
- Oil, fuel, and other liquids
- Tires, batteries, and electronics
- Appliances with refrigerant
- Propane tanks and pressurized cylinders
- Medical or biohazard waste
If you’re not sure, ask before loading, it’s easier to clarify than to pay for contamination penalties later.
Step 6: Loading Like a Pro
A little strategy goes a long way when it comes to filling your dumpster efficiently.
- Distribute weight evenly: Place heavier items on the bottom and lighter materials on top.
- Break down bulk: Disassemble furniture, flatten boxes, and cut limbs for tighter stacking.
- Keep it level: Never load past the top edge, drivers can’t safely tarp or haul overfilled bins.
- Stay dry: Cover the bin during rain to prevent added weight from water-soaked debris.
- Stage materials: Pre-pile waste near the drop spot to speed up loading and minimize extra rental days.
Following these tips keeps your final invoice predictable and your cleanup smooth.
Step 7: Scheduling Pickup and Extensions
When your project wraps up or the bin fills, call your provider a day before you want it hauled. For ongoing jobs, request a swap-out, they’ll remove the full container and drop a fresh one in the same spot.
If you need extra time, request an extension at least 24 hours before the scheduled pickup to avoid additional truck-roll fees. Planning ahead helps you stay on schedule and within budget.
Step 8: Avoiding Common Mistakes
Here are the missteps we see most often, and how to avoid them:
- Underestimating size: When in doubt, size up.
- Ignoring weight limits: Heavy materials reach caps quickly, consider separate bins for dirt or shingles.
- Skipping permits: Always check city requirements for street placement.
- Overfilling: Keep debris level with the rim.
- Mixing prohibited items: Keep a small “hazard tote” for paints, batteries, and chemicals instead.
A few minutes of preparation can save hours of hassle and hundreds in unexpected fees.
Pro Tips from Our Team
- Get quotes early: Demand spikes during spring and summer, so schedule ahead.
- Ask for documentation: Request digital invoices and weight tickets for transparency.
- Plan around project phases: Align dumpster delivery with demolition or cleanup days to keep workflow steady.
- Separate recyclables: Cardboard, metal, and clean concrete loads often cost less to dispose of.
Bottom Line
When you order a dumpster with a clear plan, knowing your waste, picking the right size, and preparing the site, you set yourself up for a hassle-free experience. At Junk Rescue AZ, we take pride in helping customers simplify cleanups with honest pricing, reliable scheduling, and practical guidance from start to finish. Whether you’re a homeowner or a contractor, our goal is to make waste removal easy, safe, and cost-effective every time.


